What Does “Enable Text Compression” Mean?
“Enable text compression” refers to the process of reducing the size of text data being transferred over the internet. This is typically achieved through the use of compression algorithms that encode the text in a more efficient format, which can significantly decrease the amount of data that needs to be sent between a server and a client (e.g., a web browser). Here’s a more detailed breakdown of what it means and why it’s important:
- Reduction in Data Size. Text compression algorithms, such as Gzip, Brotli, and Deflate, compress text files like HTML, CSS, JavaScript, and JSON. This means the same information is transmitted using fewer bytes.
- Implementation. Enabling text compaction usually involves configuring the server to compress the files before sending them to the client. Most modern web servers and content delivery networks (CDNs) support text compaction.
Why it’s Important
Compressed text files are smaller, which means they take less time to transfer over the network. This results in faster load times for web pages and improved user experience.
Compressing text reduces the amount of data that needs to be transferred, saving bandwidth. This is especially important for users on mobile devices or with limited data plans.
Faster transfer times and reduced data sizes contribute to better overall performance of websites and web applications.
How it Works
When a client (e.g., a web browser) requests a resource from a server, it can indicate its support for compression by including an Accept-Encoding header in the request. The server then compresses the response using one of the supported compression algorithms and indicates the compression method used in the Content-Encoding header.
The client receives the compressed data and decompresses it before rendering the content. This process is usually seamless and handled automatically by the browser.
Example
1. Request. A browser requests a webpage and includes the header Accept-Encoding: gzip, deflate, br.
Response: The server responds with the compressed content and includes the header Content-Encoding: gzip.
2. Decompression. The browser decompresses the content and displays the webpage.
Enabling text compression is a best practice for web development as it enhances the speed and efficiency of data transfer, leading to a better user experience.
What Triggers This Issue?
Some or all pages don’t have a content-encoding header set to br, gzip, or deflate. Each of these file formats is used for file compression. If you use one of them, the browser can download the zipped files, extract them, and show them to users.
How to Check the Issue?
You can use several methods to check if text compression is enabled on a website. Here are some of the most common ways:
Using Online Tools
There are several online tools available that can check if text compression is enabled for your website. Some popular ones include:
GTmetrix
– Go to GTmetrix.

– Enter your website URL and analyze it.
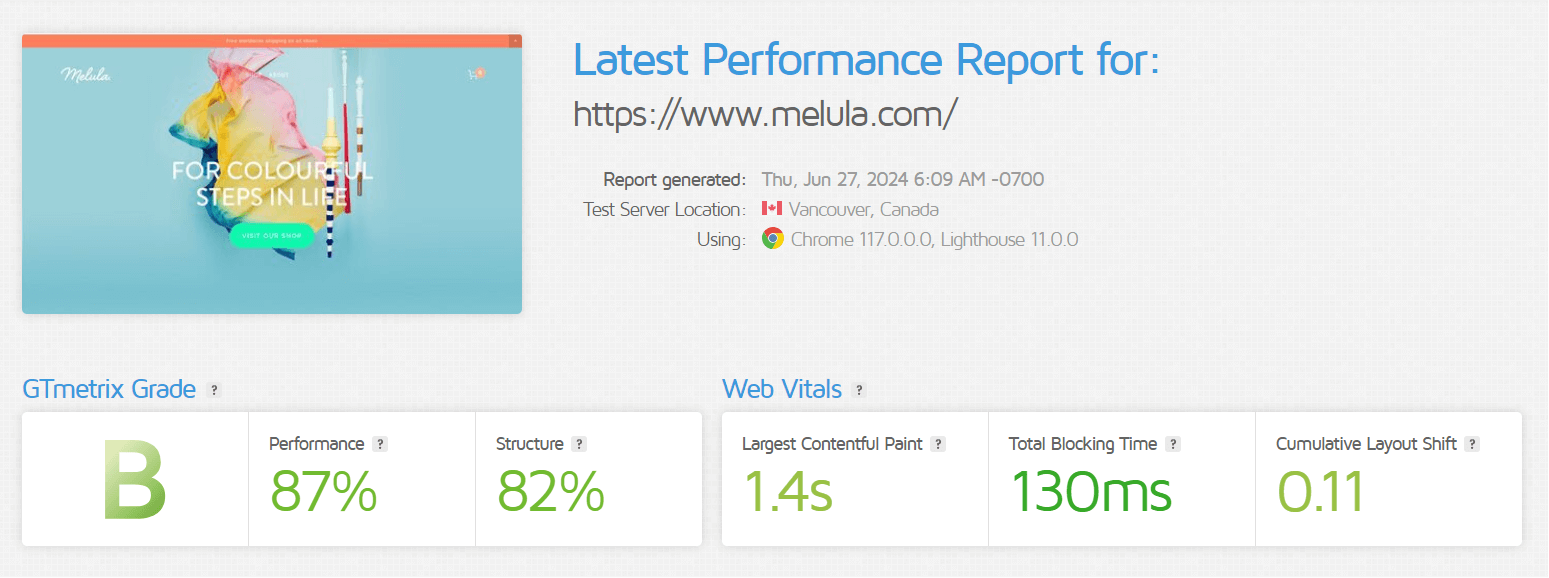
– Look for the recommendations or the “Enable text compression” section to see if it’s enabled.
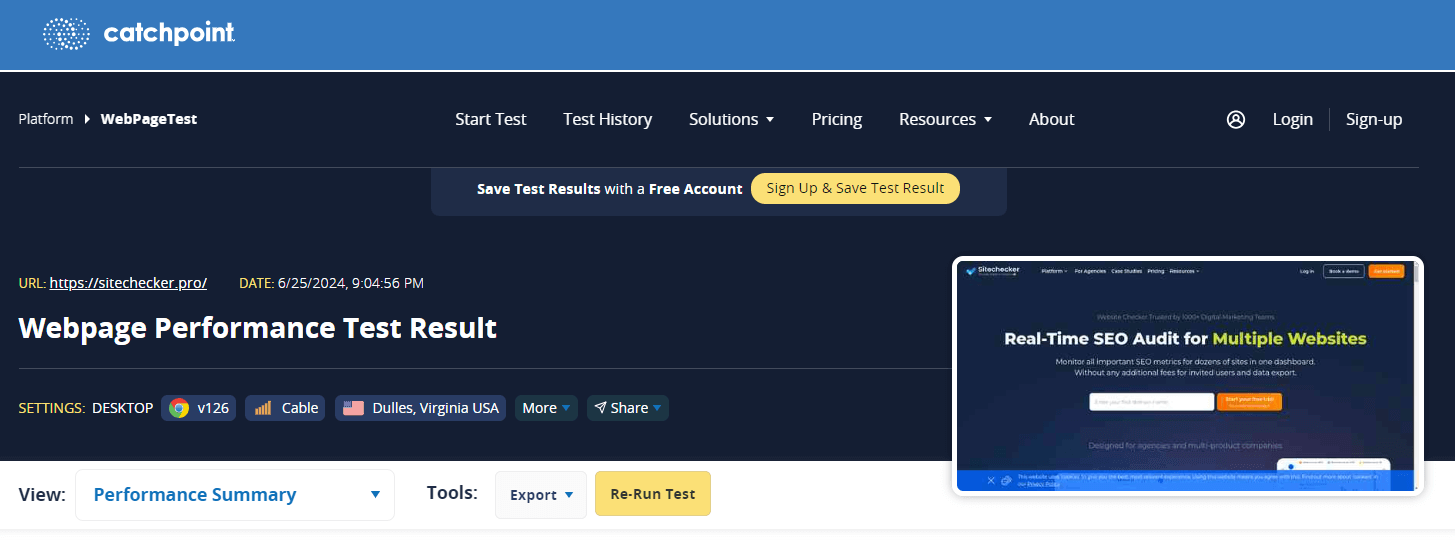
WebPageTest
– Visit WebPageTest.
– Enter your website URL and run the test.
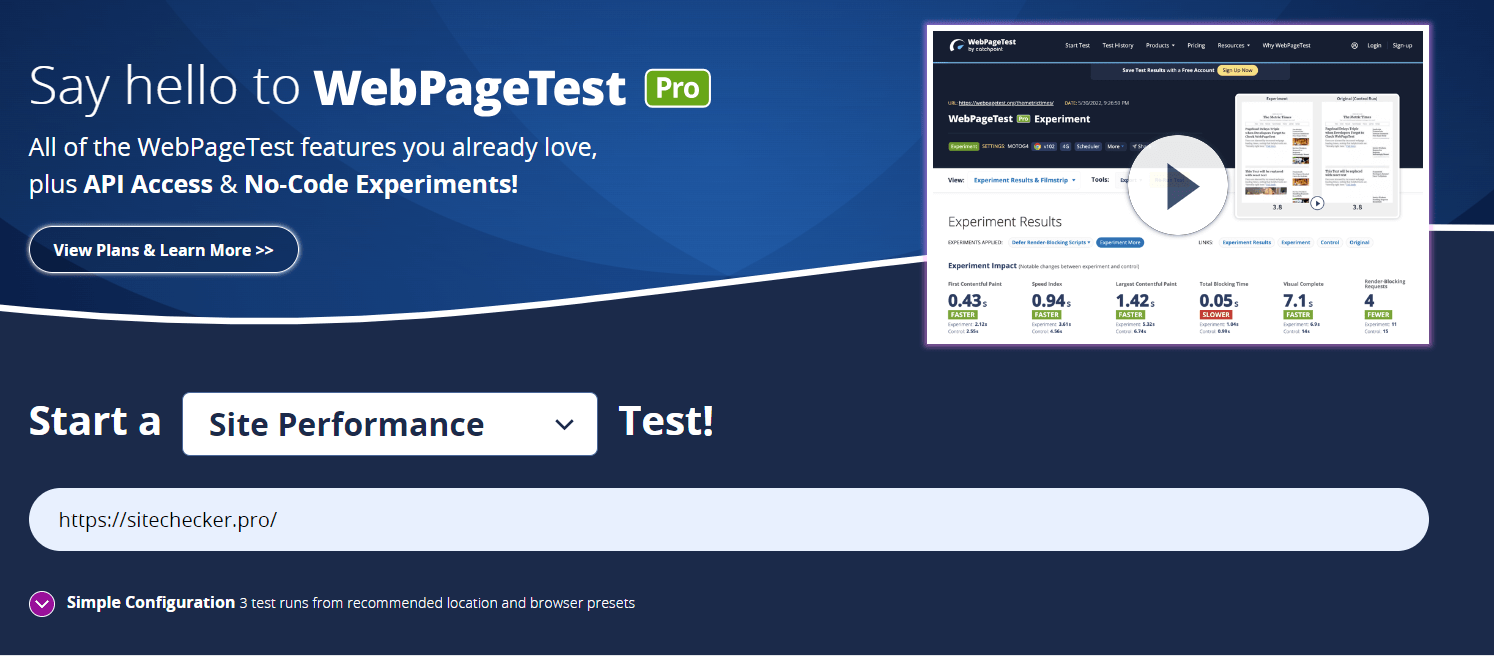
– Check the results for text compaction under the performance recommendations.
Using Command Line Tools
cURL
- Open your terminal or command prompt.
- Use the following command to check the headers:
curl -I -H "Accept-Encoding: gzip, deflate, br" https://yourwebsite.com
Look for the Content-Encoding header in the response.
wget
- Open your terminal or command prompt.
- Use the following command to fetch headers
wget --header="Accept-Encoding: gzip, deflate, br" -S https://yourwebsite.com
- Check the output for the Content-Encoding header.
Using Browser Developer Tools
Google Chrome
- Open the website you want to check.
- Press F12 or right-click and select “Inspect” to open Developer Tools.
- Go to the “Network” tab.
- Reload the page.
- Click on one of the text-based resources (e.g., HTML, CSS, JavaScript) in the list.
- In the headers section, look for the Content-Encoding header. It should show gzip, br, or deflate if compression is enabled.
Mozilla Firefox
- Open the website.
- Press F12 or right-click and select “Inspect Element” to open Developer Tools.
- Go to the “Network” tab.
- Reload the page.
- Click on one of the text-based resources.
- Check the Content-Encoding header in the response headers.
How to Fix the Issue?
Fixing the issue of text compaction not being enabled involves configuring your web server or content delivery network (CDN) to compress text-based files before sending them to the client. Here’s a step-by-step guide for various common web servers:
1. Apache
To enable Gzip compression in Apache, you need to modify the .htaccess file or the server configuration file.
Using .htaccess file
- Open the .htaccess file in the root directory of your website.
- Add the following lines to enable Gzip compression:
  <IfModule mod_deflate.c>

    # Compress HTML, CSS, JavaScript, Text, XML and fonts

    AddOutputFilterByType DEFLATE application/javascript

    AddOutputFilterByType DEFLATE application/rss+xml

    AddOutputFilterByType DEFLATE application/vnd.ms-fontobject

    AddOutputFilterByType DEFLATE application/x-font

    AddOutputFilterByType DEFLATE application/x-font-opentype

    AddOutputFilterByType DEFLATE application/x-font-otf

    AddOutputFilterByType DEFLATE application/x-font-truetype

    AddOutputFilterByType DEFLATE application/x-font-ttf

    AddOutputFilterByType DEFLATE application/x-javascript

    AddOutputFilterByType DEFLATE application/xhtml+xml

    AddOutputFilterByType DEFLATE application/xml

    AddOutputFilterByType DEFLATE font/opentype

    AddOutputFilterByType DEFLATE font/otf

    AddOutputFilterByType DEFLATE font/ttf

    AddOutputFilterByType DEFLATE image/svg+xml

    AddOutputFilterByType DEFLATE image/x-icon

    AddOutputFilterByType DEFLATE text/css

    AddOutputFilterByType DEFLATE text/html

    AddOutputFilterByType DEFLATE text/javascript

    AddOutputFilterByType DEFLATE text/plain

    AddOutputFilterByType DEFLATE text/xml

  </IfModule>
Using httpd.conf or apache2.conf
- Open your Apache configuration file (httpd.conf or apache2.conf).
- Add the same lines as above inside the <IfModule mod_deflate.c> section.
- Restart Apache
sudo service apache2 restart
2. Nginx
To enable Gzip constriction in Nginx, you need to modify the nginx.conf file.
- Open the nginx.conf file.
- Add the following lines within the http block:
  http {

    gzip on;

    gzip_comp_level 5;

    gzip_types text/plain text/css application/json application/javascript text/xml application/xml application/xml+rss text/javascript;

    gzip_vary on;

  }
3. Restart Nginx
1. IIS
To enable compression in Internet Information Services (IIS):
- Open the IIS Manager.
- Select your server name.
- In the Features View, double-click “Compression”.
- Check “Enable dynamic content compression” and “Enable static content compression”.
- Apply the changes.
2. Using a CDN
Most CDNs, such as Cloudflare, AWS CloudFront, and others, provide options to enable text compression:
Cloudflare:
- Log in to your Cloudflare account.
- Select the site.
- Go to the “Speed” tab.
- Scroll down to the “Auto Minify” section and enable “JavaScript”, “CSS”, and “HTML”.
- Go to the “Caching” tab.
- Ensure “Always Online” and “Development Mode” are turned off to use the compression features effectively.
AWS CloudFront:
- Open the CloudFront console.
- Select the distribution and click “Edit”.
- Scroll to the “Compress Objects Automatically” section.
- Check “Yes” and save changes.
3. Testing the Configuration
After making these changes, test if text compression is enabled by using browser developer tools or online tools like GTmetrix, WebPageTest, or Google PageSpeed Insights as described earlier.
Example for Nginx Configuration:
Open your Nginx configuration file:
sudo nano /etc/nginx/nginx.conf
Add or update the following lines in the http block
  http {

    gzip on;

    gzip_comp_level 5;

    gzip_types text/plain text/css application/json application/javascript text/xml application/xml application/xml+rss text/javascript;

    gzip_vary on;

  }
Save and close the file.
Restart Nginx
sudo service nginx restart
By following these steps for your specific server or CDN, you can enable text compression and improve your website’s performance.
Final Idea
Enabling text compression reduces the size of text data transferred over the internet, enhancing website performance and user experience. This involves configuring servers or CDNs to use algorithms like GZIP Compression, Brotli, or Deflate to compress files. By compressing data, you save bandwidth and improve load times, which directly benefits SEO and user satisfaction.
This process is typically managed through server settings or CDN configurations. Users can check if compression is enabled using online tools like GTmetrix or WebPageTest, or command line tools like cURL or wget. If compression is not enabled, it can be fixed by adjusting server settings in Apache, Nginx, IIS, or via CDN platforms like Cloudflare or AWS CloudFront.