What Does “HTTPS Links to HTTP Image Error” Mean?
The “HTTPS Links to HTTP Image Error” in a site audit typically means that your website, which is served over a secure HTTPS connection, contains links to images that are served over an insecure connection. This mixed content issue can have several implications:
Security Risks
Since HTTPS ensures data integrity and encryption, mixing it with HTTP can expose the site to man-in-the-middle attacks. The HTTP resources can be intercepted and manipulated by attackers.
User Trust
Modern browsers display warnings or block mixed content to protect users. This can result in a poor user experience and reduce trust in your website.
SEO Impact
Search engines prefer fully secure websites. Mixed content can negatively impact your site’s SEO performance as search engines might view it as less secure and trustworthy.
What Triggers This Issue?
This issue is an instance of mixed content that occurs when HTML pages load over a secure HTTPS connection but link to resources (images, CSS, or JS) over an insecure HTTP connection. This is generally triggered by inputting an image within the page that runs over an HTTP connection. When you upload and post images but do not update the image links on the page after getting an SSL certification, the browsers will recognize them as insecure elements.
How to Check the Issue?
A warning will appear in your browser if it detects mixed content in an address – this is the first step. You can follow the list below for the next steps:
- Right-click your mouse and choose “Inspect Element.”
- Go to the “Console” tab.
- Look for the warnings. They can come in yellow or red color (the latter is for severe matters).
Another way is to check your site’s URLs manually. Look for the ones that still use http:// instead of https:// even after you have an SSL certificate. You can also use third-party tools for quicker detection.
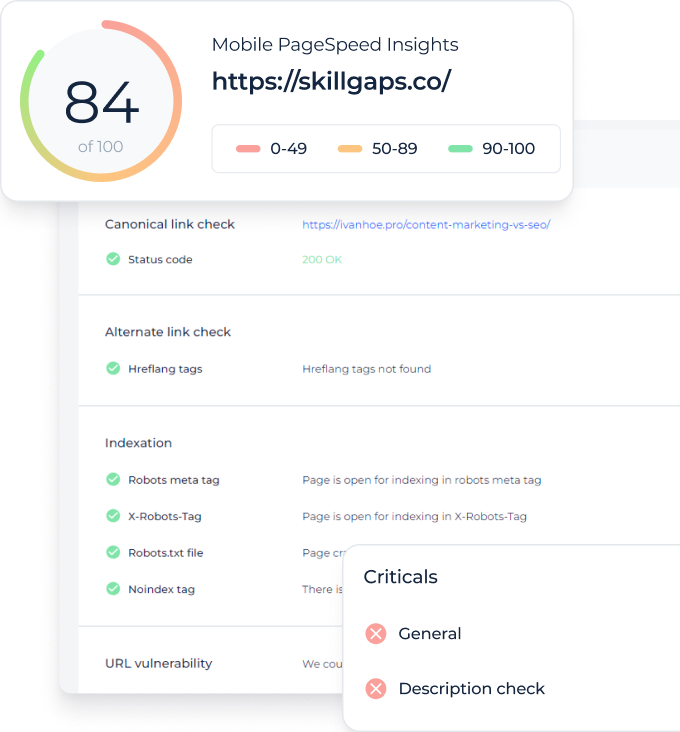
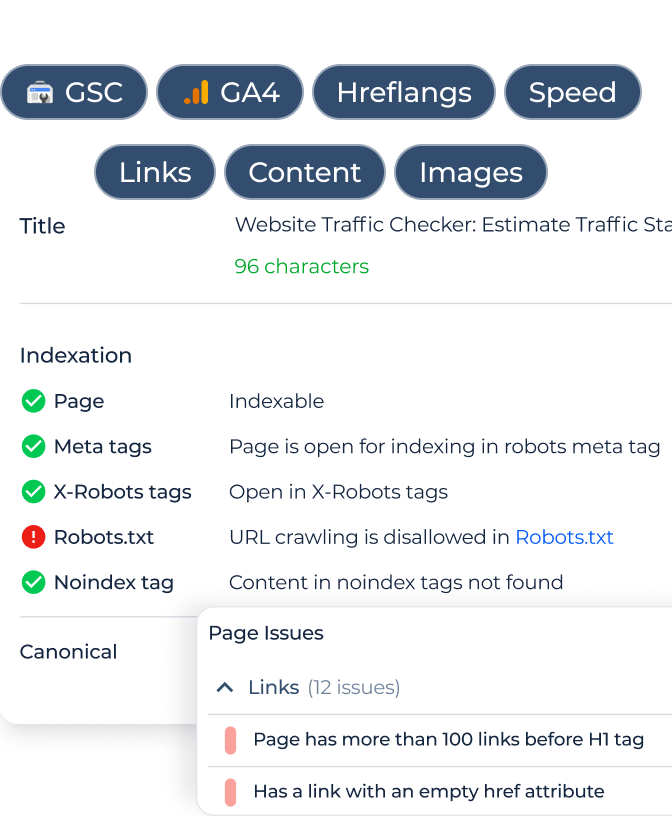
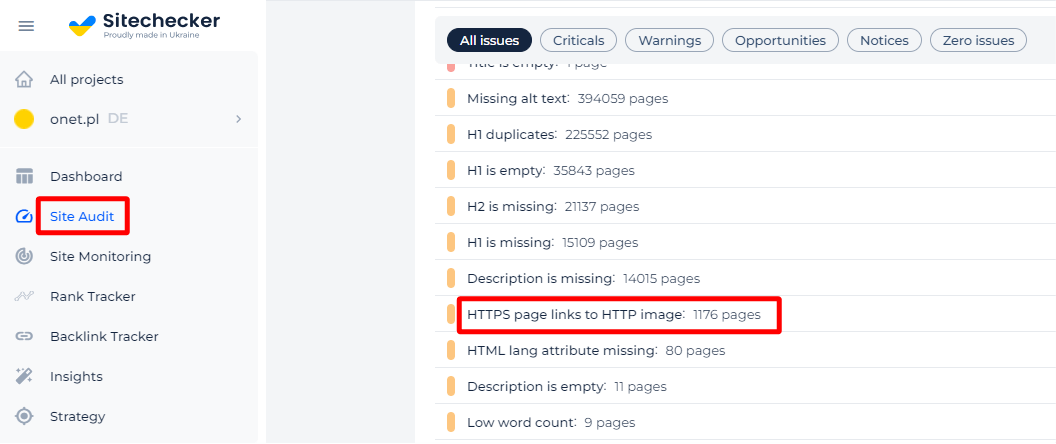
Sitechecker is an easier way to detect the issue. Just run an audit and find out about all pages with HTTPS links to HTTP images.
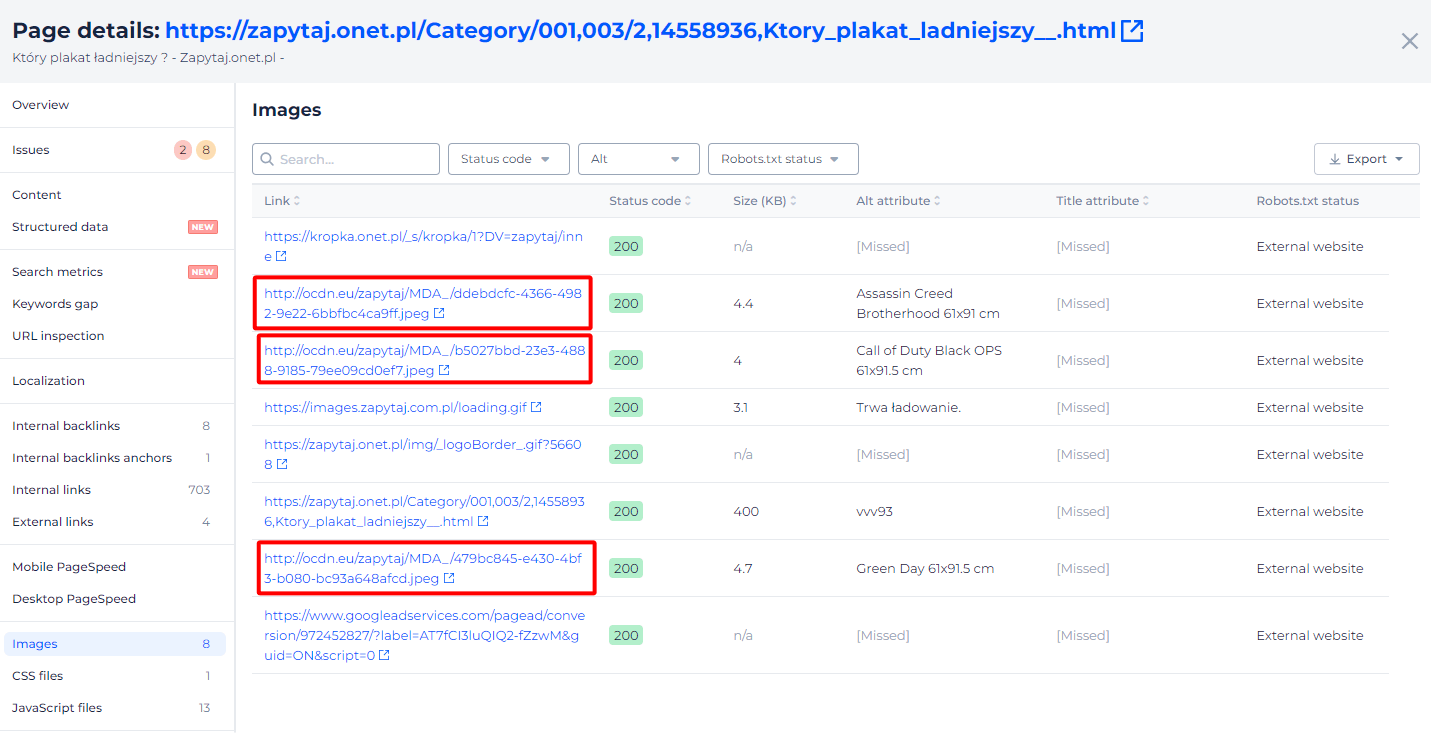
If you delve further, you’ll uncover a detailed list of all images on a particular page.
Is your secure page compromised by an insecure image link?
Check if your HTTPS page links to an HTTP image right now with Sitechecker!
Why is This Important?
Your site becomes vulnerable to attacks since mixed content degrades the security and user experience of your Hypertext Transfer Protocol Secure site. You don’t want to subject users to any danger when they access your site. Some browsers block insecure resource requests by default. If your page depends on these insecure resources, then your page might not work properly when they get blocked.
How to Fix the Issue?
To fix the “HTTPS Links to HTTP Image Error” on your website, follow these steps:
1. Identify the Mixed Content
Use browser developer tools, online mixed content scanners, or your site’s audit tool to locate all instances where images are served over an insecure protocol on your HTTPS site.
2. Update Image URLs
If the number of images is small, manually update the image URLs in your HTML, CSS, and JavaScript files from http:// to https://.
Site-Wide Search and Replace: For larger sites, use a site-wide search and replace tool to update all instances of http:// to https:// for your image URLs. Ensure you test thoroughly after this change to catch any unintended replacements.
3. Check External Resources
If you are using external resources (e.g., images hosted on third-party servers), ensure those resources are available over HTTPS. If they are not, consider hosting those images on your server or using a different provider that supports HTTPS.
4. Update Content Management System (CMS) Settings
If you use a CMS like WordPress, Joomla, or Drupal, check the settings for site URLs and update them to use HTTPS.
For WordPress, consider using plugins like “Really Simple SSL” which can help automate the process of updating URLs.
5. Update Database URLs
For CMS-driven sites, image URLs might be stored in the database. Use database management tools or plugins to perform a search and replace in the database to update http:// to https://.
6. Use HTTPS for All Resources
Ensure that all other site resources (stylesheets, scripts, fonts) are also served over secure protocol to avoid mixed content issues.
7. Set Up Redirects
Configure your web server to redirect all HTTP requests to HTTPS. This can be done by updating your server configuration files (e.g., .htaccess for Apache, nginx.conf for Nginx).
For Apache
  <IfModule mod_rewrite.c>

    RewriteEngine On

    RewriteCond %{HTTPS} off

    RewriteRule (.*) https://%{HTTP_HOST}%{REQUEST_URI} [R=301,L]

  </IfModule>
For Nginx:
  server {

    listen 80;

    server_name yourdomain.com;

    return 301 https://$host$request_uri;

  }
8. Verify SSL Certificate
Ensure your SSL certificate is correctly installed and configured on your server. Tools like SSL Labs’ SSL Test can help verify this.
9. Clear Caches
Clear your website’s cache, CDN cache, and browser cache to ensure the updated URLs are served to visitors.
10. Test Your Site
After making these changes, thoroughly test your website to ensure all images and resources are being served over secure protocol. Use browser developer tools and online mixed content checkers to confirm there are no remaining issues.
To further streamline this process, a Website Image Crawler can regularly scan your site to identify broken images.
By following these steps, you can resolve the “HTTPS Links to HTTP Image Error” and ensure your website is fully secure and compliant with best practices.
